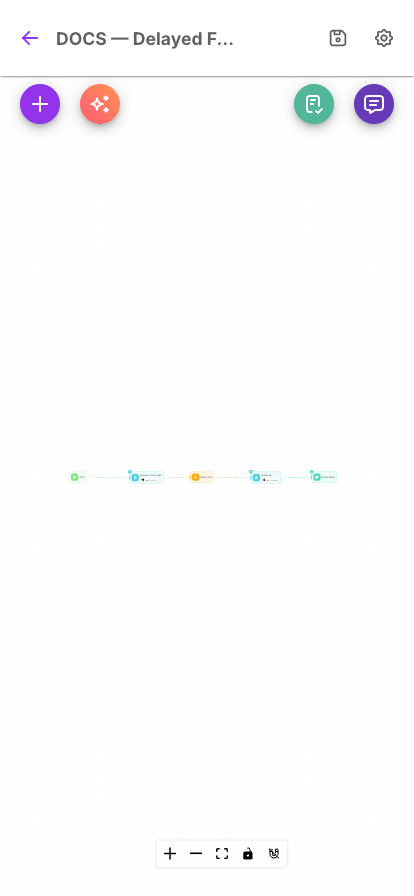
The Canvas
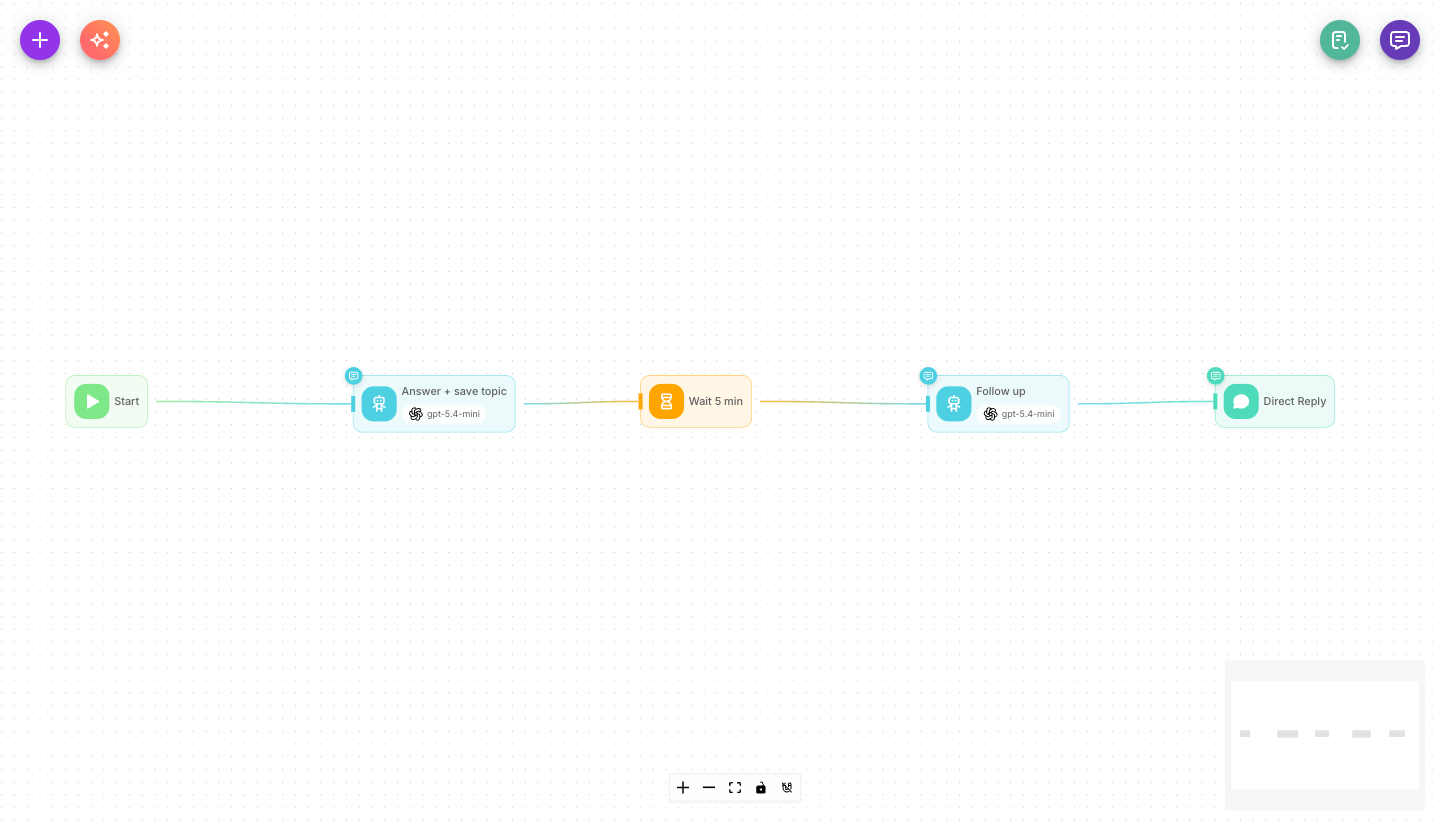
The canvas is where you build an AgentFlow. You add nodes, connect them into a flow, and test the whole thing right there — on your computer or your phone.
Adding nodes
Every flow starts with a Start node, already on the canvas. To add more:
- On desktop — drag a node from the side panel onto the canvas, and drop it where you want it.
- On mobile — open the bottom node picker and either tap a node (it lands in the center of the view) or long-press and drag it to an exact spot.
Browse the full list of available nodes in the Node reference. When you're not sure what a node does, open it and read its description — every node has one.
Connecting nodes
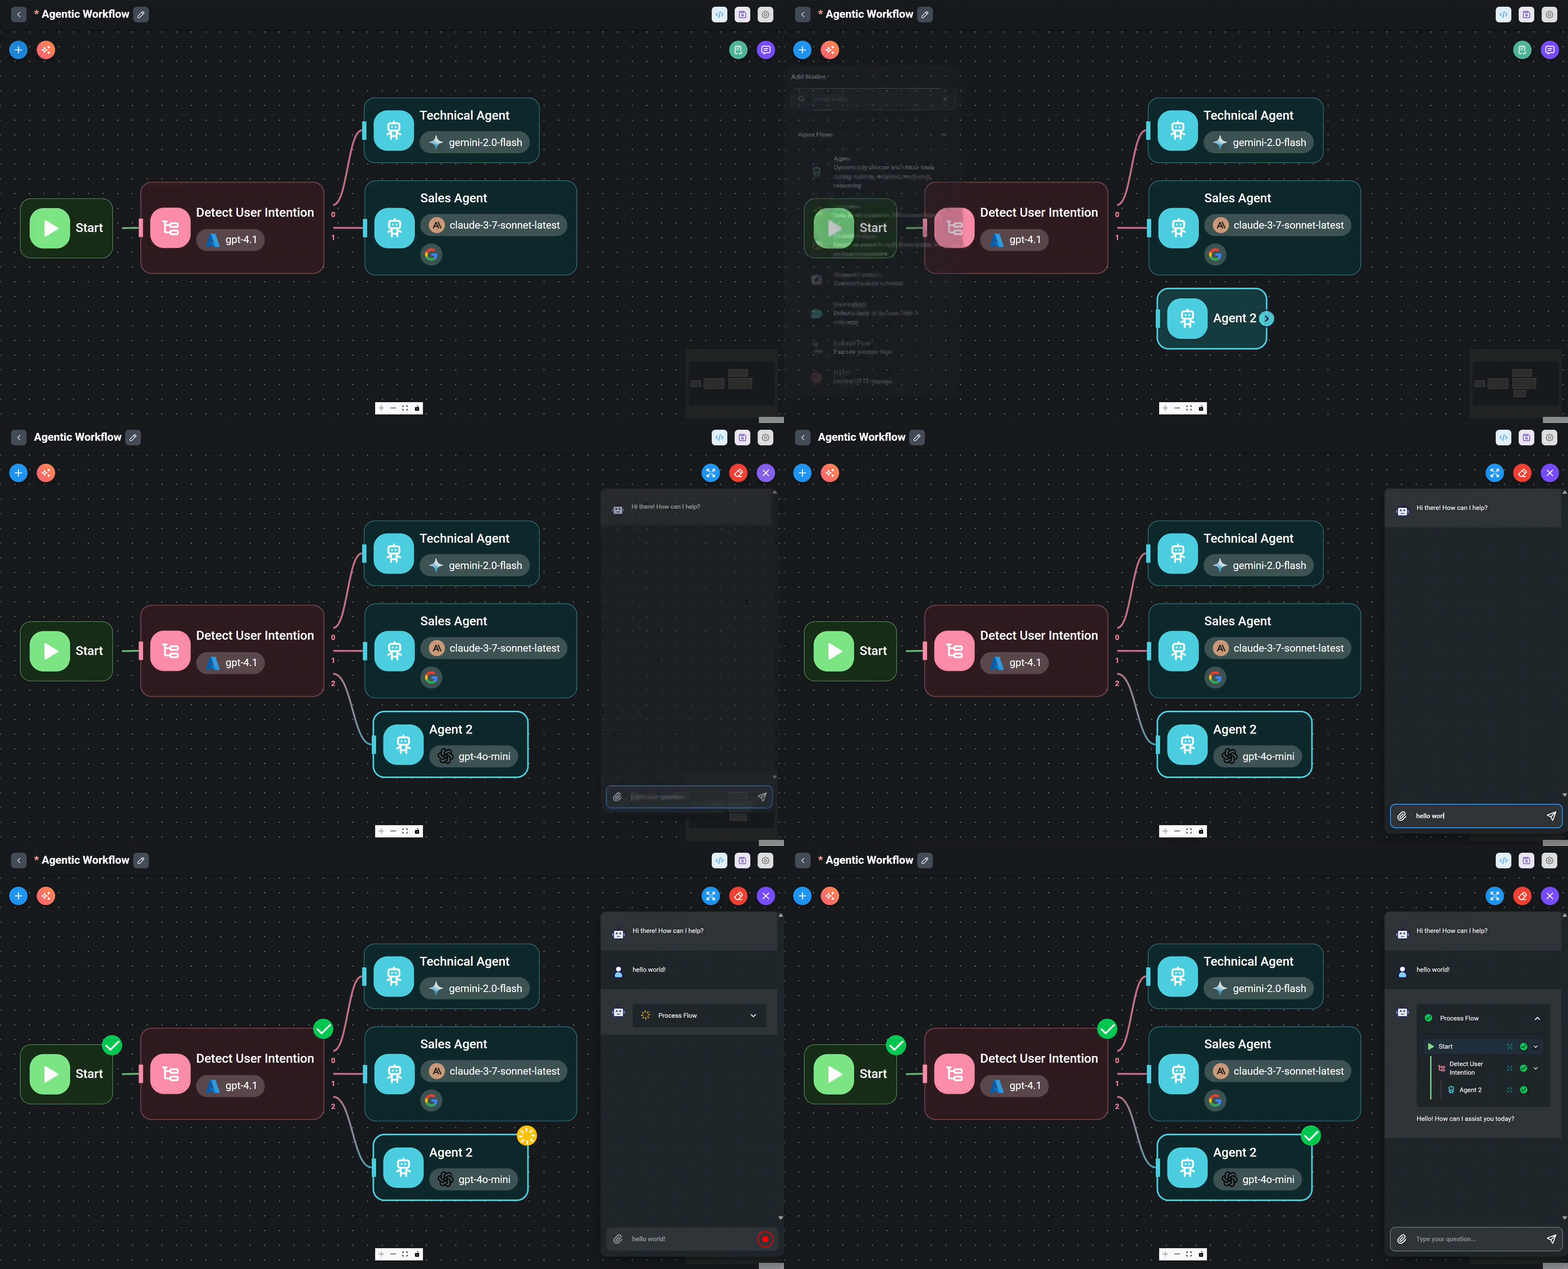
Each node has small connection points (handles) on its sides. To connect two nodes, drag from the handle on the right of one node to the handle on the left of the next. The line you draw tells Flowera the order the steps run in.
Some nodes have more than one output — for example a Condition node has one handle per rule plus a trailing Else handle. Connect each output to whatever should happen next on that branch. See How a flow runs for how branching works.
To remove a connection, hover over the line and click the X (on mobile, tap the line to select it, then tap the X).
Editing a node
Double-click a node (double-tap on mobile) to open its settings. Here you fill in the details — the AI model, the prompt, which tool to call, and so on. Many fields accept variables written as {{ }}, which pull in live data like the user's message or a previous node's output. See Variables.
Rename a node by clicking the pencil next to its title. When you rename a node, Flowera automatically updates every {{ }} reference to it across the whole flow — you never have to find-and-replace by hand.
Saving
Click Save in the header to store your changes. On mobile the save icon pulses purple whenever you have unsaved edits, so you always know where you stand.
Every save is kept. The v7 badge next to the flow's name shows the current version — click it to open the version history, preview any earlier version, see what changed, and restore or export it.
Running and testing
Use the built-in chat test to try your flow without leaving the canvas:
- Open the chat panel (the chat button; a full-screen chat on mobile).
- Type a message as if you were a customer.
- Watch the flow respond, then adjust nodes and try again.
This is the fastest way to iterate — build a little, test a little.
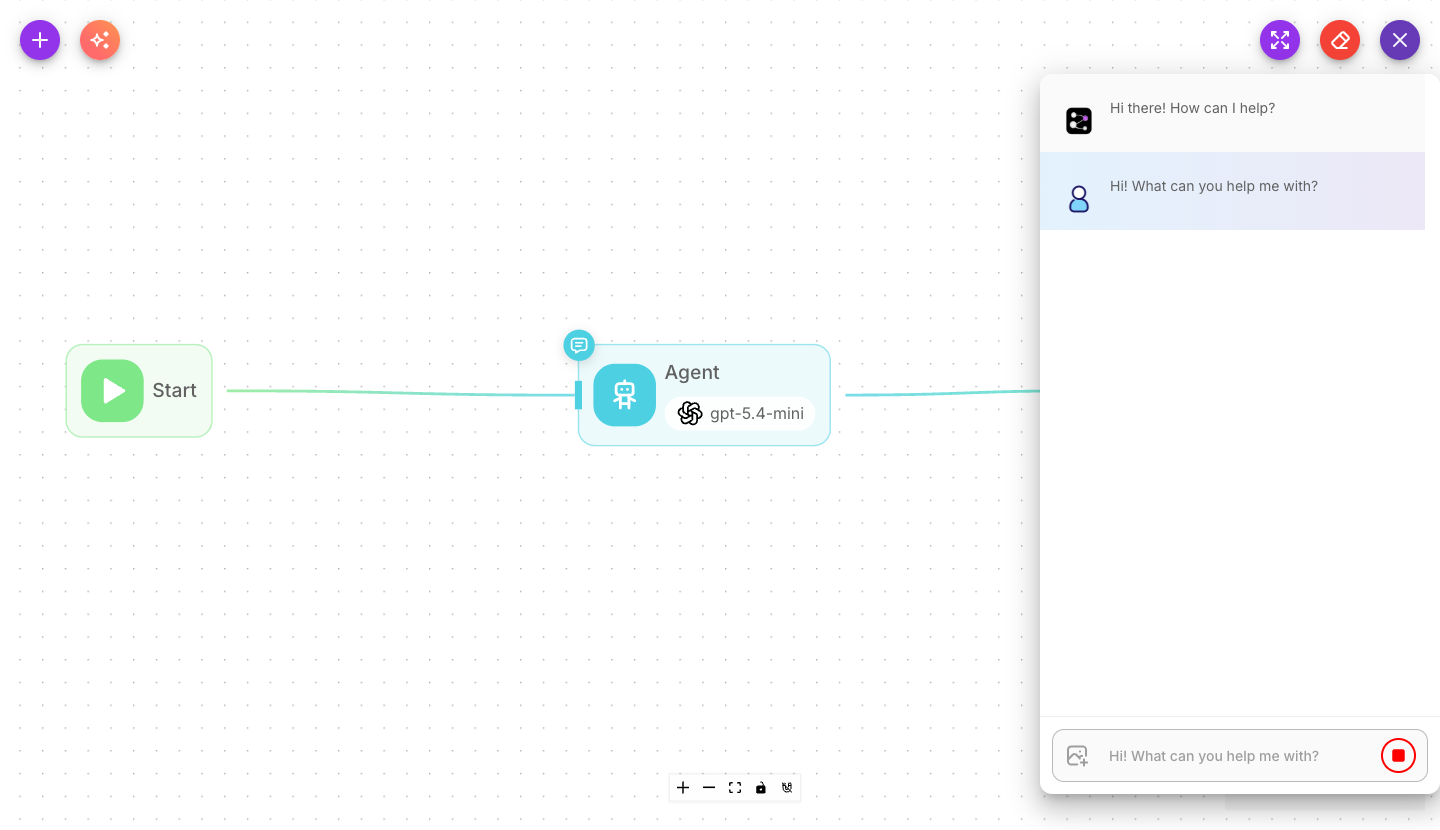
Testing in the chat panel uses the Chat Input trigger. If your flow is triggered by a webhook, form, or a channel like Instagram, see Triggers overview for how to test those.
Building on mobile
The canvas is fully usable on phones and tablets. Below a narrow screen width it switches to a touch-friendly layout with larger handles and bottom panels. Everything you can do on desktop, you can do on mobile.
| Action | Desktop | Mobile |
|---|---|---|
| Add a node | Drag from side panel | Tap in bottom sheet, or long-press and drag |
| Edit a node | Double-click | Double-tap (opens full screen) |
| Delete a connection | Hover + click X | Tap the line to select, then X |
| Zoom | Scroll wheel | Pinch |
| Fit the flow to screen | Controls button | Triple-tap empty canvas |
| Move handles | Hover to reveal | Always visible |
| Test chat | Chat button | Chat button (full screen) |
Inserting a variable on mobile: tap the {x} button next to a text field. The keyboard closes and the variable palette slides up from the bottom; pick a variable and the keyboard returns. (On mobile the palette doesn't open automatically — this keeps it from hiding behind the keyboard.)