Signing Up
Getting into Flowera takes an email address and a password. This page walks through creating an account, verifying it, and understanding the workspace that Flowera sets up for you — the container every flow, credential, and document you create will live in.
Creating an account
Open the Flowera app. If you're not signed in, you land on the welcome screen, which has a Login tab and a Register tab.
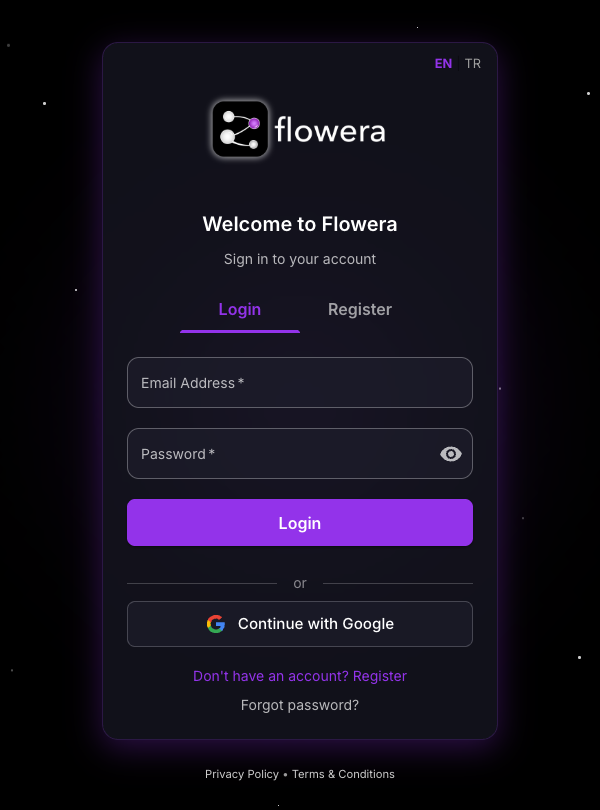
Switch to Register. Flowera asks for two things:
| Field | Notes |
|---|---|
| Email Address | This is your login ID. Use an address you can receive mail at — verification and password resets go there. |
| Password | At least 8 characters, with an uppercase letter, a lowercase letter, a digit, and a special character. |
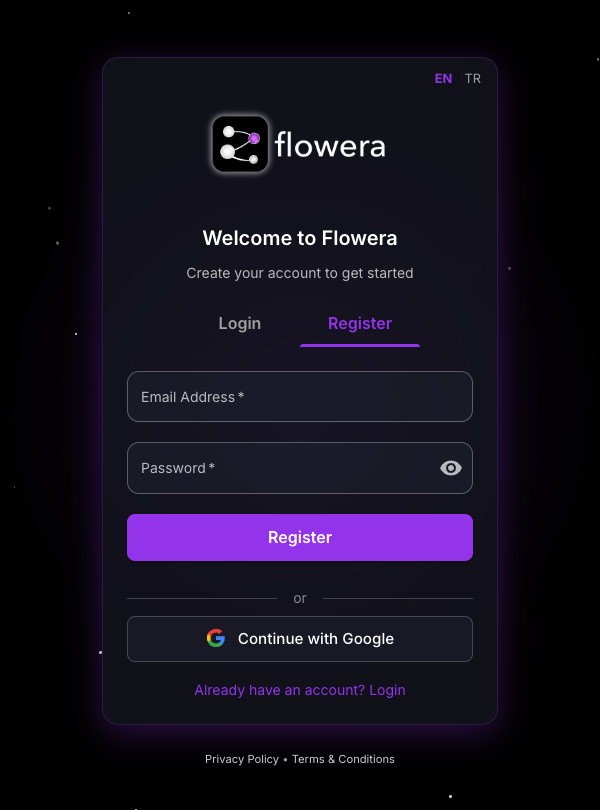
Press Register. You can also press Continue with Google to sign up with a Google account instead — no password to choose, nothing to verify by email, and you're signed in straight away.
There's no username field. Flowera builds one from the part of your email before the @,
lowercased and stripped of dots and symbols, up to 20 characters — John.Doe@example.com
becomes johndoe. If that name is taken it adds a suffix (johndoe_1). Usernames are fixed
once the account exists; the name you see in your profile and in your personal workspace's
name comes from here.
Registering with email and password does not sign you in. Flowera returns you to the Login tab with a confirmation message, so your first real sign-in is a deliberate step.
Verifying your email
If email verification is enabled on your Flowera installation, registering sends a verification link to your address. Click it, then come back and log in.
Try to log in before verifying and Flowera won't let you through — but it does send a fresh verification link automatically, so you don't have to hunt for the original message.
Some installations add a second check: when you log in from a network Flowera hasn't seen you use before, it emails a 6-digit code and shows the Enter Verification Code screen. Type the code to continue, or press Resend Code if it doesn't arrive. Once a network is trusted, later logins from it skip this step.
Your first workspace
A workspace is the boundary around everything you build: agentflows, credentials, tools, documents, variables, and API keys all belong to exactly one workspace. Nothing leaks between workspaces, which is what makes them useful for separating clients, brands, or environments.
Your first one is created for you when you register. It's named after your username with a
-personal suffix — so ayse gets ayse-personal — and you're its Owner. Flowera also
opens a wallet for the account at the same time; see Credits & Wallet.
The workspace switcher sits in the top bar. It lists every workspace you belong to, marks the active one with a check, and offers two actions below the list.
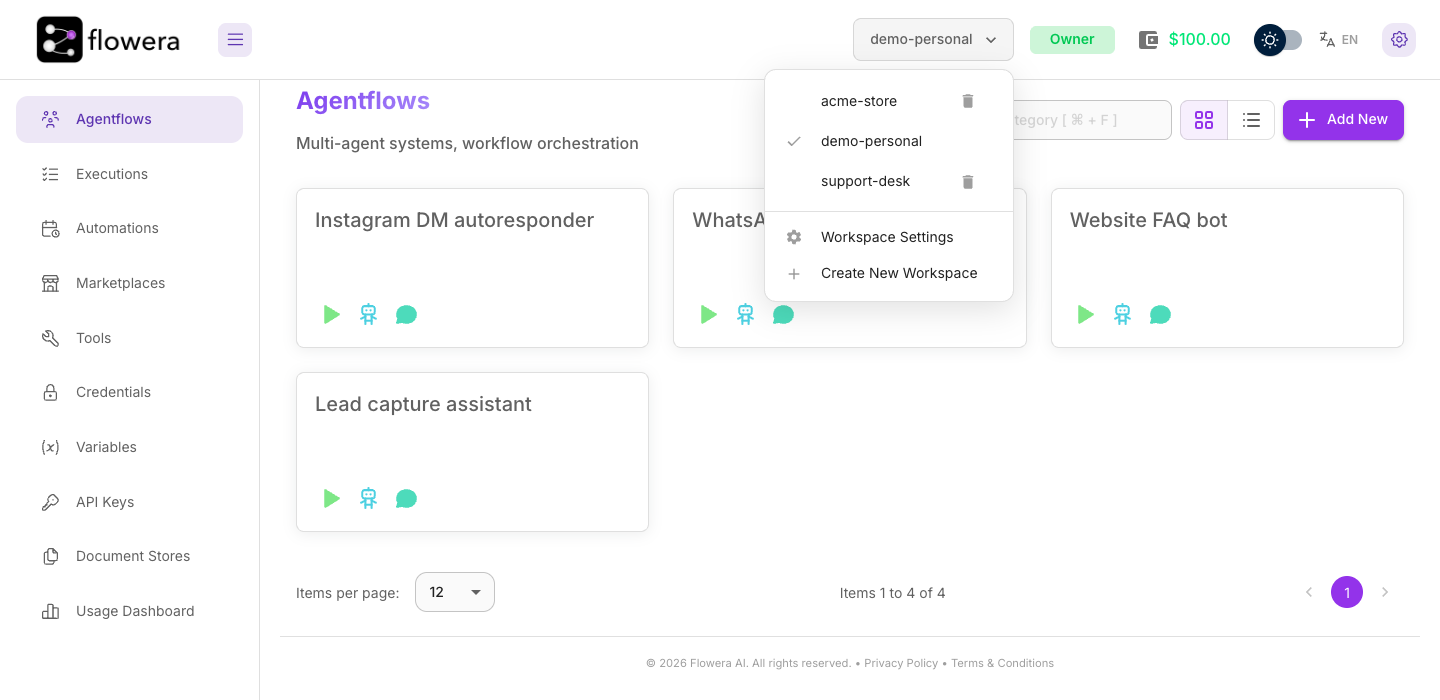
- Workspace Settings — rename the workspace and manage who belongs to it.
- Create New Workspace — start a fresh, empty one. Handy when you want a clean separation between, say, a client project and your own experiments.
Switching workspaces reloads the app so that every list you see belongs to the workspace you picked. The green badge next to the switcher shows your role in the active workspace, which determines what you're allowed to do there — see Roles & Permissions.
Signing in again
Return to the app and sign in with your email and password, or with Continue with Google. After a successful login Flowera drops you on the Agentflows page.
Forgot your password? Press Forgot password? on the Login tab, enter your email, and press Send Reset Link. Flowera mails you a link that opens the Reset Your Password screen, where you choose a new one. The confirmation message is deliberately vague about whether the address is registered, so it can't be used to probe for accounts.
Where to go next
- Interface tour — what each part of the app does.
- Your first AgentFlow — build a working bot in about ten minutes.
- Workspaces — running more than one, and inviting people into them.